Why Cleaning Tile and Grout Is More Important Than You Think
Tile floors are marketed as low-maintenance, and compared to carpet, they are. But low maintenance does not mean no maintenance. Over time, even the most diligently mopped tile floor develops dingy, discolored grout lines that make the entire floor look old and dirty. If you have noticed that your once-bright grout has turned gray, brown, or even black, you are dealing with a common problem that affects virtually every tiled surface.
The good news is that cleaning tile and grout effectively is entirely possible, whether you tackle it yourself or bring in professionals. In this comprehensive guide, we will explain why grout gets dirty in the first place, walk you through proven DIY methods, cover different tile types and their specific care requirements, discuss when and how to seal grout, and help you decide whether professional cleaning is worth the investment for your situation.
Why Grout Gets So Dirty
To understand how to clean grout effectively, it helps to understand why it gets dirty in the first place. Grout is a porous, cement-based material that fills the gaps between tiles. Unlike the glazed or polished surface of your tiles, which repels liquids and resists staining, grout absorbs moisture and contaminants like a sponge.
Every time you mop your floor, walk across it with bare feet, or spill something, a small amount of soil, oil, and moisture gets absorbed into the grout. Over months and years, this accumulation builds up within the grout's porous structure, changing its color from the inside out. Regular mopping only cleans the surface of the grout without reaching the contaminants that have been absorbed deeper.
Other factors that accelerate grout discoloration include:
- Using dirty mop water. Once your mop water gets cloudy, you are essentially spreading dirty water across your floor and into the grout.
- Not sealing grout after installation. Unsealed grout absorbs stains much faster than sealed grout.
- High humidity environments. Bathrooms and kitchens are particularly susceptible to grout mold and mildew growth.
- Using the wrong cleaners. Oil-based or wax-based floor cleaners leave residue in grout that attracts and holds dirt.
DIY Methods for Cleaning Tile and Grout
Before you call a professional, try these DIY approaches. For mildly to moderately dirty grout, home methods can deliver excellent results with some effort.
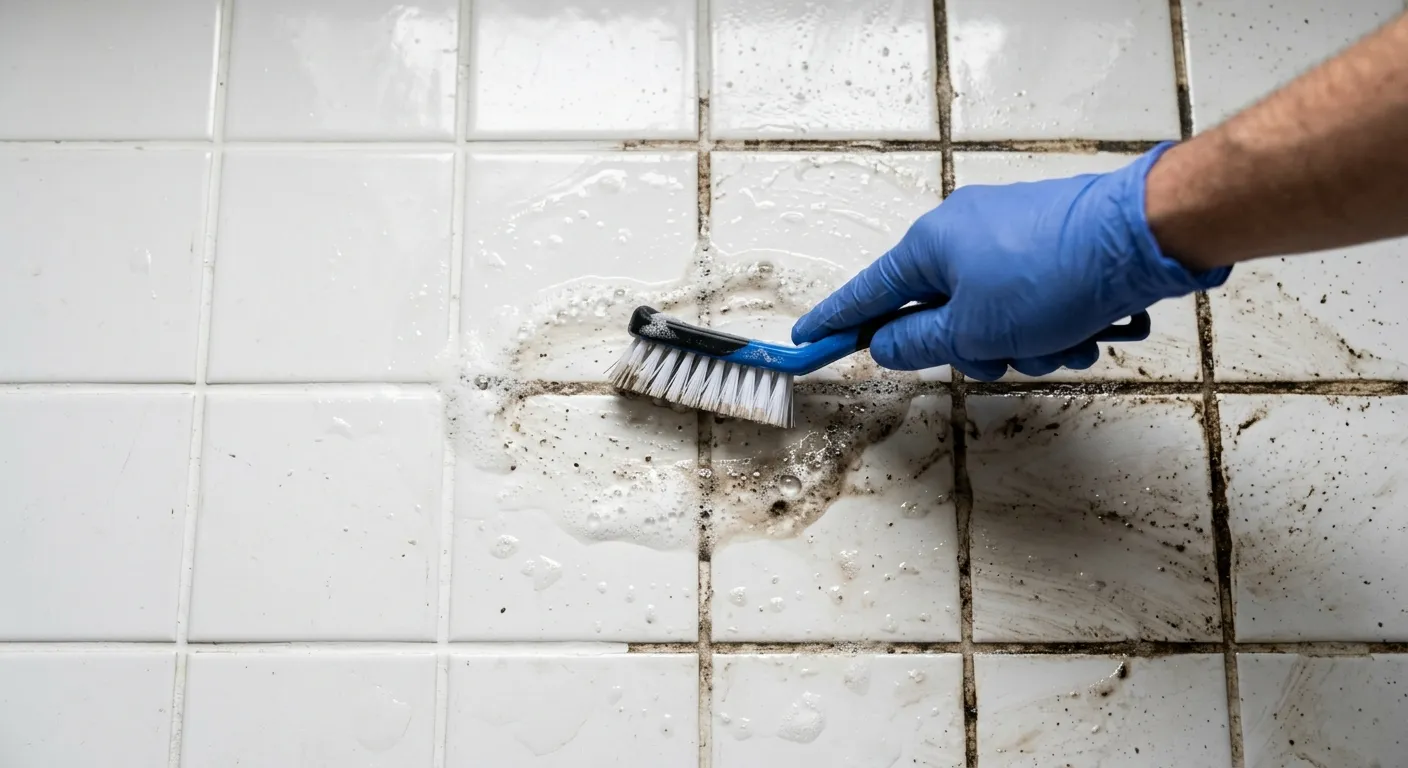
The Baking Soda and Vinegar Method
This is the most popular DIY grout cleaning approach, and it works well for moderately discolored grout on ceramic and porcelain tile floors.
What you need: Baking soda, white vinegar, a spray bottle, a stiff-bristled brush (a dedicated grout brush or an old toothbrush for small areas), and warm water.
How to do it: Make a thick paste of baking soda and water (roughly three parts baking soda to one part water). Apply the paste directly to the grout lines. Fill a spray bottle with white vinegar and spray it over the baking soda paste. It will fizz and bubble, which is the chemical reaction that helps loosen embedded dirt. Let the mixture sit for 5 to 10 minutes. Scrub the grout lines with your stiff-bristled brush, working in small sections. Rinse with clean warm water and dry with a clean towel.
Important note: Do not use vinegar on natural stone tile (marble, travertine, slate, or limestone). The acidity of vinegar can etch and damage these surfaces. We will cover natural stone care separately below.
The Hydrogen Peroxide Method
For heavier staining, mix half a cup of baking soda with one-quarter cup of hydrogen peroxide and one teaspoon of dish soap. Apply to grout lines, let sit 10 to 15 minutes, scrub, and rinse. Test in a hidden area first, as peroxide can lighten colored grout.
The Oxygen Bleach Method
Oxygen bleach (such as OxiClean) is safer than chlorine bleach. Dissolve in warm water per package directions, saturate grout lines, and let sit 15 to 30 minutes. Scrub and rinse. Particularly effective for mold and mildew stains.
When to Avoid Chlorine Bleach
While chlorine bleach whitens grout short-term, repeated use breaks down cement, causing crumbling. It also produces harsh fumes and discolors colored grout. Stick with oxygen bleach or hydrogen peroxide instead.
Cleaning Different Tile Types
Not all tile is created equal, and using the wrong cleaning method on certain tile types can cause permanent damage. Here is what you need to know about each major tile category:
Ceramic Tile
Ceramic is the most common and forgiving tile type. Its glazed surface resists staining and handles most cleaning solutions. The grout between ceramic tiles is where most of your cleaning effort will focus.
Porcelain Tile
Porcelain is denser and less porous than ceramic. Cleaning methods are similar, but unglazed porcelain (matte finish) is more porous and can absorb stains if not sealed.
Natural Stone Tile
Natural stone (marble, travertine, granite, slate, limestone) requires special care. Avoid acidic cleaners like vinegar and lemon juice, which etch stone surfaces. Use only pH-neutral stone cleaners, warm water with mild dish soap, and soft brushes. Natural stone should be professionally sealed every 1 to 2 years.
When and How to Seal Grout
Sealing grout is one of the most effective ways to prevent discoloration and make future cleaning easier. A grout sealer fills the pores in the grout, creating a barrier that repels water, oil, and stains.
When to seal:
- New grout should be sealed 48 to 72 hours after installation, once it has fully cured.
- Existing grout should be sealed after a thorough cleaning, once it is completely dry.
- Reapply sealer every 1 to 2 years, or whenever you notice that water no longer beads on the grout surface (the water test).
How to seal grout yourself: Purchase a penetrating grout sealer (not topical, which can peel). Apply along grout lines, wipe excess off tiles within 5 to 10 minutes, and allow 24 hours to cure. Apply a second coat for maximum protection.
Cost: A bottle of grout sealer costs $10 to $25 and covers 50 to 200 square feet. For professional sealing, expect to pay $1 to $3 per square foot, which includes cleaning, sealing, and ensuring even application.
Professional Tile and Grout Cleaning: What to Expect
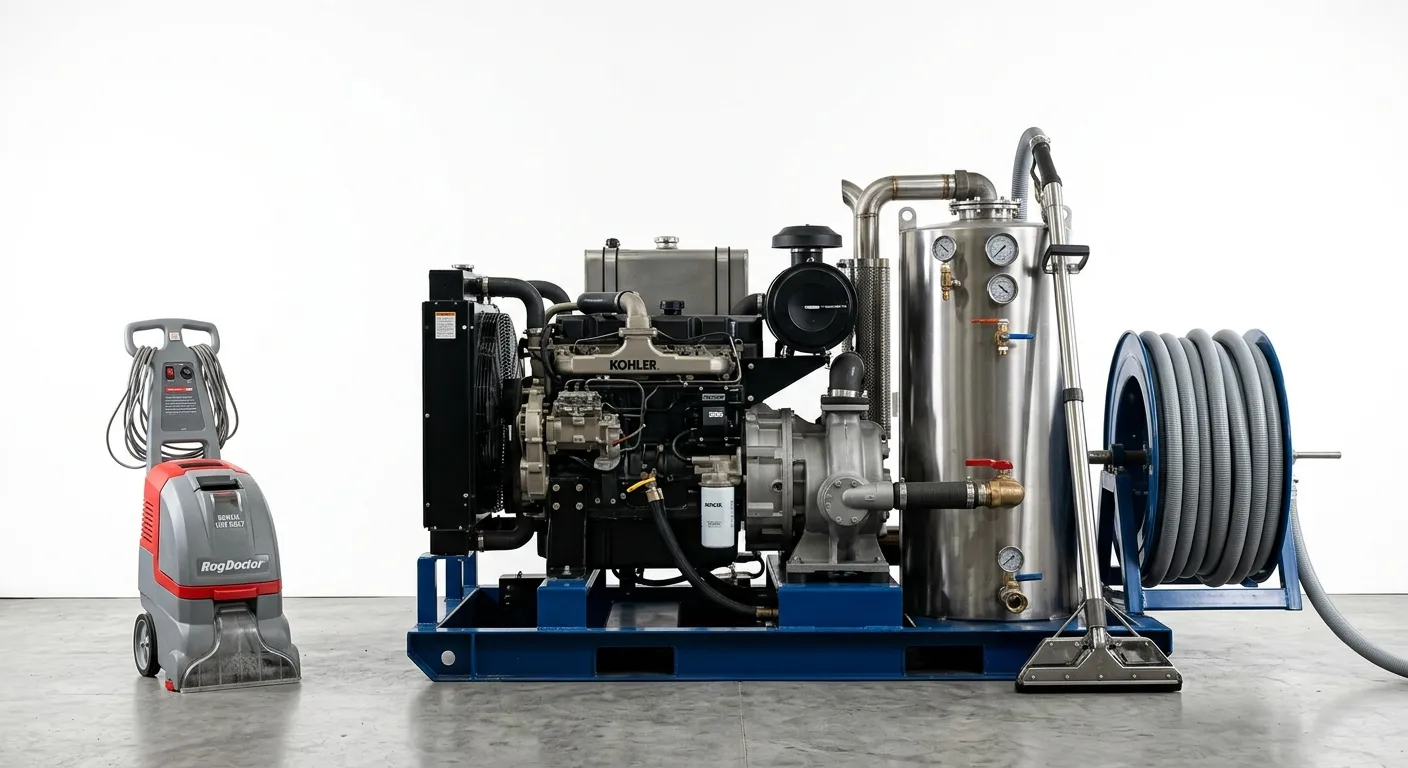
Professional tile and grout cleaning uses truck-mounted or commercial-grade equipment that delivers results far beyond what consumer tools can achieve. Here is what the professional process typically looks like:
- Pre-treatment: Professional-grade cleaning solution is applied to grout lines with 10 to 15 minutes of dwell time.
- Agitation: A rotary machine with specialized brushes scrubs the solution into the grout.
- High-pressure extraction: Hot water (up to 1,200 PSI) blasts soil from grout while simultaneously extracting water and contaminants.
- Sealing: A professional-grade penetrating sealer is applied to protect against future staining.
Expected cost: Professional tile and grout cleaning typically costs $1 to $3 per square foot, with most homes falling in the $300 to $700 range for kitchens and bathrooms combined. While this is more expensive than DIY methods, the results are dramatically better, especially for grout that has not been cleaned in years.
Professional vs DIY: Making the Right Call
Here is an honest comparison to help you decide:
Choose DIY if:
- Your grout is only mildly discolored
- You are willing to invest several hours of hands-and-knees scrubbing
- You have ceramic or porcelain tile (not natural stone)
- You clean your tile and grout regularly and want to maintain results
Choose professional cleaning if:
- Your grout has not been deep-cleaned in more than 2 years
- DIY methods have not produced satisfactory results
- You have natural stone tile that requires specialized care
- You have a large area to clean (entire kitchen, bathrooms, and hallways)
- You want grout sealing included in the service
- You have mold or mildew in bathroom grout that keeps returning
At Shiny Rhino, we provide tile and grout cleaning as part of our complete floor care services. Our technicians are trained in the specific requirements of different tile types, and we use professional-grade equipment and solutions that deliver consistent results. We also offer carpet cleaning, upholstery cleaning, and hardwood floor services that can be combined with tile and grout cleaning for comprehensive floor care.
Maintaining Clean Tile and Grout
Keep your tile and grout looking great with these habits:
- Mop with clean water and change it frequently
- Use pH-neutral cleaners and avoid products with oils or waxes
- Squeegee bathroom tile after showers to prevent mold
- Address spills promptly before they soak into grout
- Re-seal grout when water stops beading on the surface
Frequently Asked Questions
How often should tile and grout be professionally cleaned?
For most homes, professional tile and grout cleaning every 12 to 24 months keeps floors looking their best. High-moisture areas like bathrooms may benefit from annual cleaning, while lower-traffic areas can go longer. Regular sealing after professional cleaning extends the time between services by preventing soil from penetrating the grout.
Can grout be recolored or restored if cleaning does not help?
Yes. If your grout is structurally sound but permanently stained, grout recoloring (also called grout staining) is an option. A specialized grout colorant is applied to the clean grout surface, providing a uniform color and an additional layer of protection. This is a cost-effective alternative to complete regrout, which requires removing all existing grout and replacing it. Most grout colorants are available in a wide range of colors and last 10 to 15 years with proper care.
Is it safe to use a pressure washer on indoor tile and grout?
No. Standard pressure washers are too powerful for indoor use and will spray water everywhere, potentially causing water damage to walls, cabinets, and subfloors. Professional tile cleaning equipment uses contained high-pressure systems that direct water at the floor and immediately extract it. If you are tempted to use a pressure washer, consider professional cleaning instead, which delivers the same or better results without the risk of water damage.
What causes black mold in shower grout, and how do I prevent it?
Black mold in shower grout is caused by persistent moisture in a warm environment, which is exactly what a shower provides. The porous grout absorbs water and provides an ideal surface for mold spore colonization. To prevent it, ensure your bathroom has adequate ventilation by running an exhaust fan during and for 20 to 30 minutes after each shower. Squeegee or towel-dry tile surfaces after showering. Seal grout lines annually and clean bathroom grout monthly with a mold-inhibiting cleaner or hydrogen peroxide solution. If mold keeps returning despite these measures, the grout may need professional treatment or replacement.